Soft washing is a safe, effective, and environmentally-friendly method for cleaning the exterior surfaces of your home. Unlike traditional pressure washing, which uses high-powered jets of water, soft washing relies on low-pressure water and specialized cleaning solutions to remove dirt, algae, mildew, and other buildup without damaging your siding, roof, or paint. This makes it especially ideal for delicate surfaces such as vinyl, stucco, wood, and asphalt shingles.
If you’re looking to improve your home’s curb appeal or remove organic growth, soft washing is a great option. Below is a complete step-by-step guide on how to soft wash a house properly and safely.

Safety Precautions For Soft Washing Your Home
Protective Gear
Before you begin, it’s important to wear the proper safety gear. The cleaning solutions used in soft washing typically contain sodium hypochlorite (bleach) and other chemical surfactants, which can irritate your skin and eyes if you’re not protected.
Always wear safety goggles, chemical-resistant gloves, and non-slip shoes or boots to protect yourself from accidental splashes and slippery surfaces. Long sleeves and pants are also recommended for added protection.
Secure the Area
Make sure to keep children and pets indoors throughout the process. Chemicals used in soft washing can be harmful if inhaled or ingested. Take extra care to cover outdoor furniture, plants, grills, and fragile materials with tarps or plastic sheeting. This prevents accidental damage from the cleaning solution and protects your landscaping.
Gather Your Materials
Soft Wash System
To soft wash your house, you’ll need a low-pressure washer, often referred to as a soft wash system. A standard pressure washer with an adjustable nozzle or a garden hose with a hose-end sprayer can also be used if set to a low-pressure mode. The key is to ensure the water pressure stays between 250 and 500 PSI, which is gentle enough for most surfaces.
Cleaning Solution
The most common soft wash solution is a mixture of sodium hypochlorite (household bleach), water, and a surfactant such as dish soap or a specialized cleaner. A typical solution ratio is:
- 1 part bleach
- 1 part water
- A small amount of surfactant (just enough to help the solution stick to surfaces)
Always mix the solution in a well-ventilated area and follow all manufacturer recommendations for the products you’re using.
Safety Supplies
Be sure your safety goggles, gloves, and non-slip shoes are ready before beginning. If you’re using a ladder to reach higher sections of your home, make sure it’s on a stable, level surface, and never lean too far while spraying.
Prepare the Area
Cover Sensitive Items
Before you start spraying, take time to move or cover items that could be affected by the water or chemicals. This includes:
- Outdoor furniture
- Decorative items
- Planters
- Lawn equipment
Use tarps or plastic covers to protect anything that can’t be moved. Also, water down surrounding plants to help dilute any chemical runoff.
Seal Electrical Components
Use plastic tape or waterproof coverings to seal any outdoor electrical outlets, light fixtures, or other electrical components that could be affected by moisture. Water and electricity never mix, so taking this step prevents short circuits or other hazards.
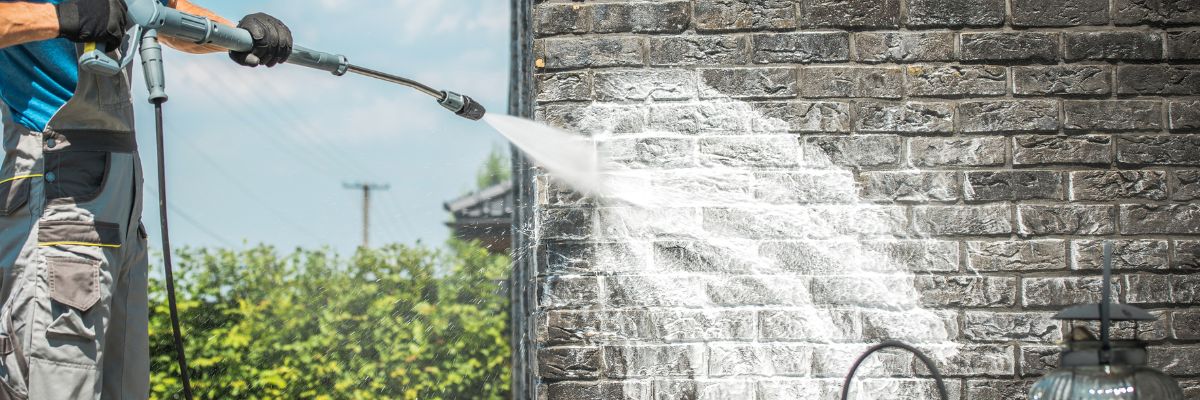
Apply the Soft Wash Solution
Spray the Solution
Using your low-pressure sprayer, begin applying the soft wash solution. Start from the bottom of the house and work your way up. This technique helps prevent streaking and allows you to cover every surface evenly.
Be generous, but not excessive, with the application. Make sure the solution thoroughly coats all the surfaces, especially areas where mildew, algae, or dirt buildup is visible.
Let It Sit
After applying the solution, allow it to sit on the surface for 10 to 15 minutes. This contact time is crucial—giving the chemicals enough time to penetrate organic material and break it down for easy rinsing.
Keep an eye on the surface during this time. If the solution starts to dry, you may need to reapply lightly to keep the area moist.
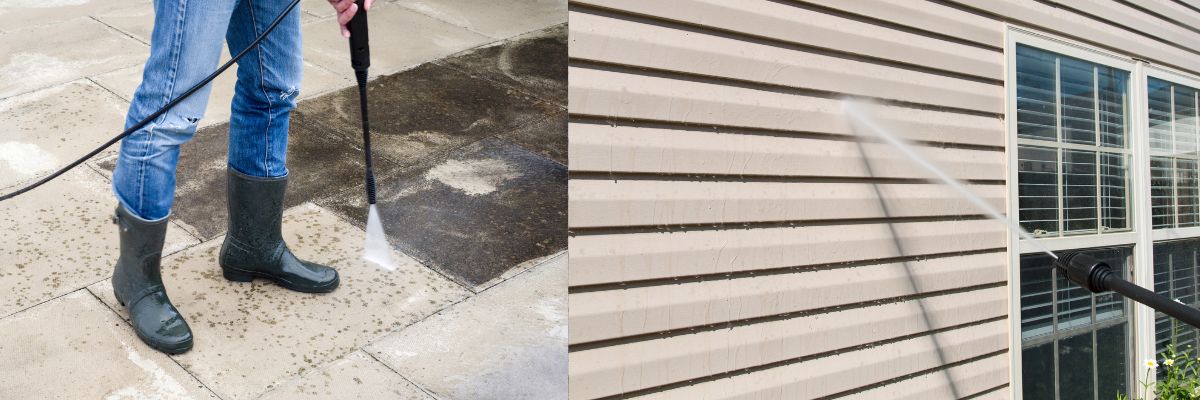
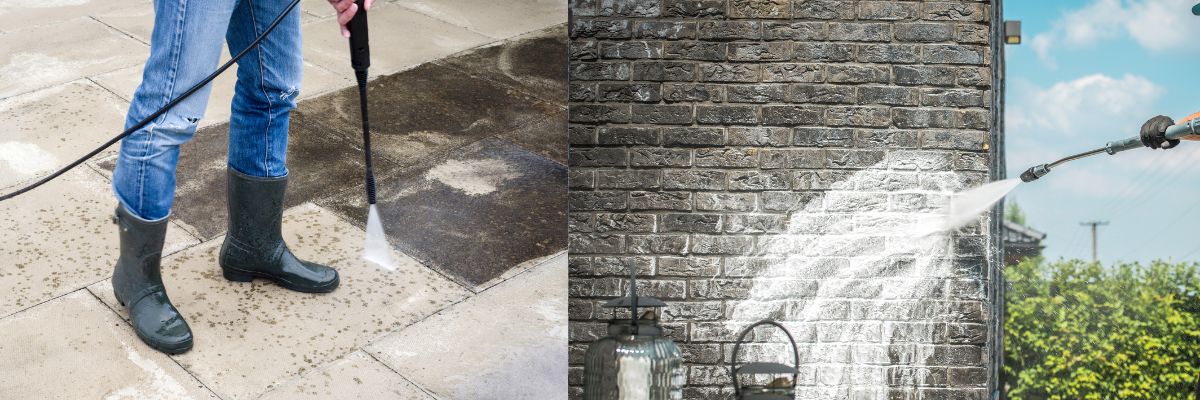
Rinse the Surface
Low-Pressure Rinse
Once the solution has had time to work, it’s time to rinse. Using the same low-pressure setting, rinse the surface thoroughly, starting from the top and working your way down. This helps flush dirt and residue down and off the house, avoiding streaks.
Take your time to ensure all the chemical solution is removed. Incomplete rinsing may leave behind residue that could attract more dirt or discolor the surface over time.
Final Check
Inspect for Remaining Stains
After rinsing, inspect the cleaned surfaces. If you notice any stubborn stains or remaining mold/algae spots, it may be necessary to repeat the cleaning process in those areas. Don’t rush—some buildup takes multiple treatments to fully remove.
Use a soft brush for spot cleaning if needed, but avoid abrasive scrubbing that could scratch the surface.
Clean Up
Dispose of any leftover cleaning solution according to local guidelines, and be sure to thoroughly rinse your sprayer and tools with clean water. Remove any tarps or plastic coverings, and give your plants another rinse to help dilute any residual runoff.
Tips for a Successful Soft Wash
Follow Product Instructions
Always follow the manufacturer’s instructions for your cleaning solution and equipment. Concentrations that are too strong can damage paint or vegetation, while overly diluted solutions may not be effective.
Test a Small Area First
Before treating your entire home, test a small, hidden area to ensure that the cleaning solution does not cause discoloration or damage. Every surface reacts differently, and this simple step can help you avoid costly mistakes.
When in Doubt, Hire a Pro
If you’re uncomfortable with chemicals, concerned about damaging your home, or just want the best possible results, consider hiring a professional soft washing service. Trained professionals understand how to apply the right solution safely and efficiently for long-lasting results.
Why Soft Washing Is Ideal for Home Exteriors
Soft washing is more than just a gentler way to clean—it’s also more effective at targeting organic growth such as mold, algae, and lichen. By using specialized solutions that kill contaminants at the root, soft washing provides longer-lasting results than traditional power washing, which only removes surface dirt.
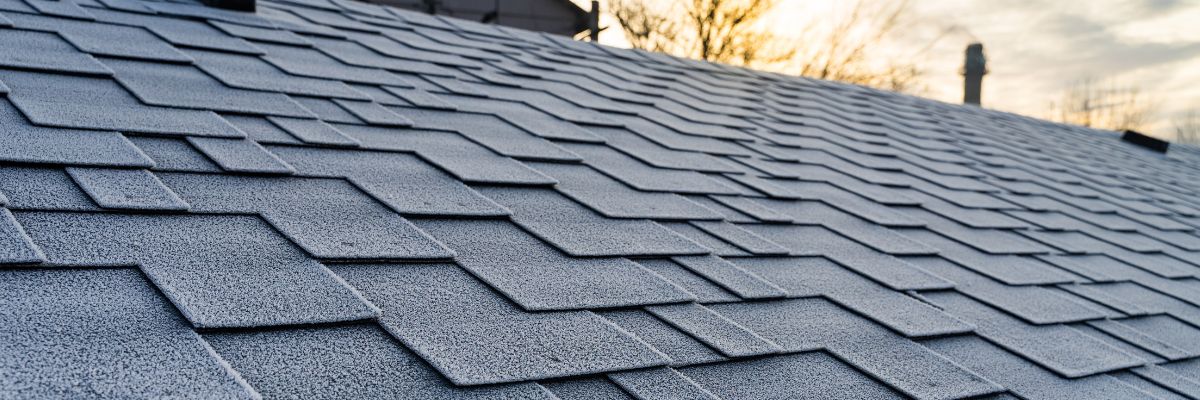
It’s especially ideal for surfaces like vinyl siding, painted wood, stucco, and asphalt shingles, where high-pressure washing can strip paint, remove protective coatings, or even cause leaks.
Conclusion: Keep Your Home Clean—The Safe Way
Soft washing is an excellent way to keep your home looking clean and well-maintained without the risks that come with traditional high-pressure cleaning. By following the proper steps—preparing the area, using the right cleaning solutions, applying low pressure, and rinsing thoroughly—you can safely remove years of grime, mold, algae, and dirt from your home’s exterior surfaces.
However, for the best results and peace of mind, it’s often worth leaving it to the pros. Vesta Pro Wash specializes in safe, effective soft washing services tailored to your home’s unique needs. Our experienced team uses professional-grade equipment and eco-friendly solutions to restore your home’s exterior without causing any damage.
Contact Vesta Pro Wash today to schedule your soft wash service and give your home the clean, refreshed look it deserves—done safely, done right.